INFINITE SCROLL
The theme uses the infinite scroll option so your website visitors can explore products without any interruptions. You can decide on the number of products pulled into view in your WP Dashboard → Settings → Reading → Blog pages show at most.

To disable this option, go to Customization → General and turn off the Enable infinite scroll option.

MENUS AND PAGES
To start adding your categories, first go to Customization menu → General and click Create button to add default pages and menus.

To create product categories, go to Products → Product Categories and select categories you want to Edit or create a new one. To create a subcategory, add its name and select the corresponding parent category. Click Add a New Category.

Once your product categories are created, you can proceed with organizing your website menus. There are 4 of them available in the Andy Warhol theme:
Main Menu
three menus located in Footer
To manage them, go to Appearance → Menus and select a menu to make changes to or create a new one. Check items, which should be added to your menu, in the left-hand sidebar.
Drag items to change their display order and move them to the right to make sub items. You can edit them by clicking the down arrow symbol.

To make sure you see all groups of items, click Screen Options at the top of the page and check groups you want to add to menu.

After you have finished editing your menu, check corresponding display location at the bottom of the page in Menu Settings. Click Save Menu.

Alternatively, you can use Manage with Live Preview at the top of the page to see changes on your website front-end as you make them.
CUSTOMIZATION
General
In the General section you can edit some basic configuration settings:
upload your favicon
show quantity of orders (Homepage and Category page)
enable product discount badges (Homepage and Category page)
enable Infinite scroll
enable the LazyLoad option (Homepage, Category page and Single product page)
show star product rating (Homepage and Category page)

You can also show the Selling fast badge on products (Homepage and Category page).

To do this, enable the Show 'Selling fast' badge on products option and set the stock threshold. The badge will be displayed if product stock is lower than the value you entered.

Customize your template colors:

Head
You can add and edit scripts and styles in Head.

Header
In the Header tab you can upload your website logo and enable/disable sticky header for desktop.
Manage your header menu in the Product settings section: rename product blocks and link them to any page. This is what you get by default:
Top selling tab shows products sorted by popularity
Best deals tab shows products sorted by discount
New arrivals tab shows products sorted by date
Instead of product categories, you can add any page you want to your Header menu. It can be Blog or 'Shipping & Delivery' page, for example. Just paste its URL in the Category link field and give it a name.

Home
Upload your Homepage ad banner in the Promo banner block and link it to any page. If size of your banner differs from the recommended, just skip cropping.
You can show your YouTube video on Homepage – add its ID and manage Autoplay settings.

Single product
Manage your single product page settings in the Single product tab: enable pre-selected variations and sticky Add to cart, edit product information tabs, show social share icons, and many more.

In this theme, you can add up to four urgency and FOMO (Fear Of Missing Out) banners to your Single product page.

1) Urgency banner. Fully customizable: edit text, colors and upload your own custom icon.

2) Products left in stock banner. This banner is shown if number of available items is fewer than the one you have set in Customization. Adjust colors and upload your icon if necessary.

3) Trust banner. Choose your own colors and edit text.

Payment icons are shown under the Add to cart button.

You can delete some certain icons and upload your own images or disable them.

4) Staff pick. Select items that deserve special attention and customize Staff pick banners to your needs. You can create an unlimited number of Staff pick banners and link them with different products.

Category page
You can upload another banner and show it on your Category page. Link it to any page.
If you need to exclude certain products from Top selling, Best deals and New arrivals tabs, add them in the Product Display Settings (they will appear only on Category page).

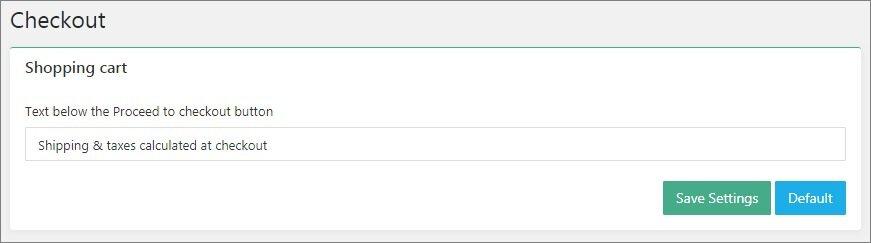
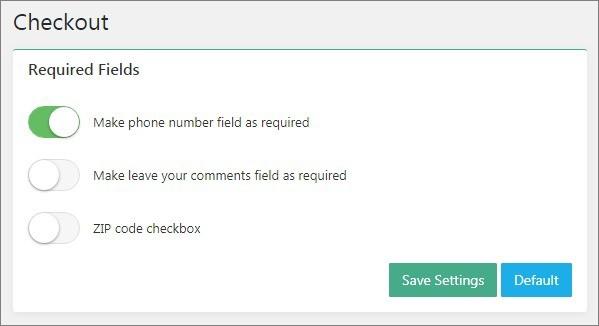
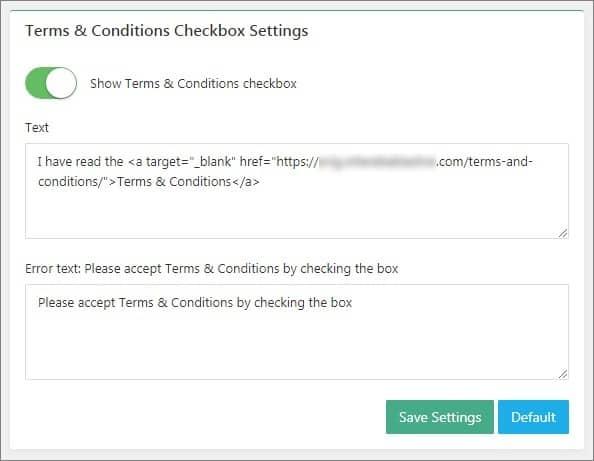
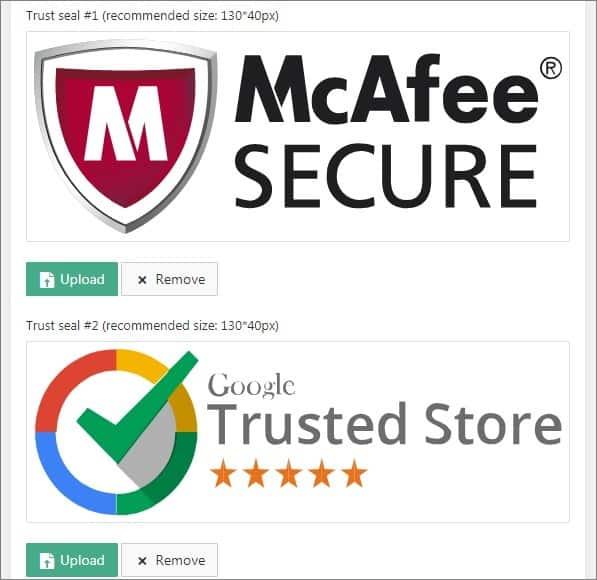
Checkout
Depending on your needs, edit text below the Proceed to checkout button in the side shopping cart.
Manage the required Checkout fields by adjusting the toggles.
Show Terms & Conditions checkbox on the last Checkout step to make sure your clients accept your website policy.
Use the default trust seals or upload your own to add credibility to your store.
Pick colors for the checkout buttons to meet your design objectives. Add your contact details and a link to a page that is important to your Checkout process.

About Us
Tell your customers more about your business: edit the About Us text so that it tells your company’s story and upload a background image.

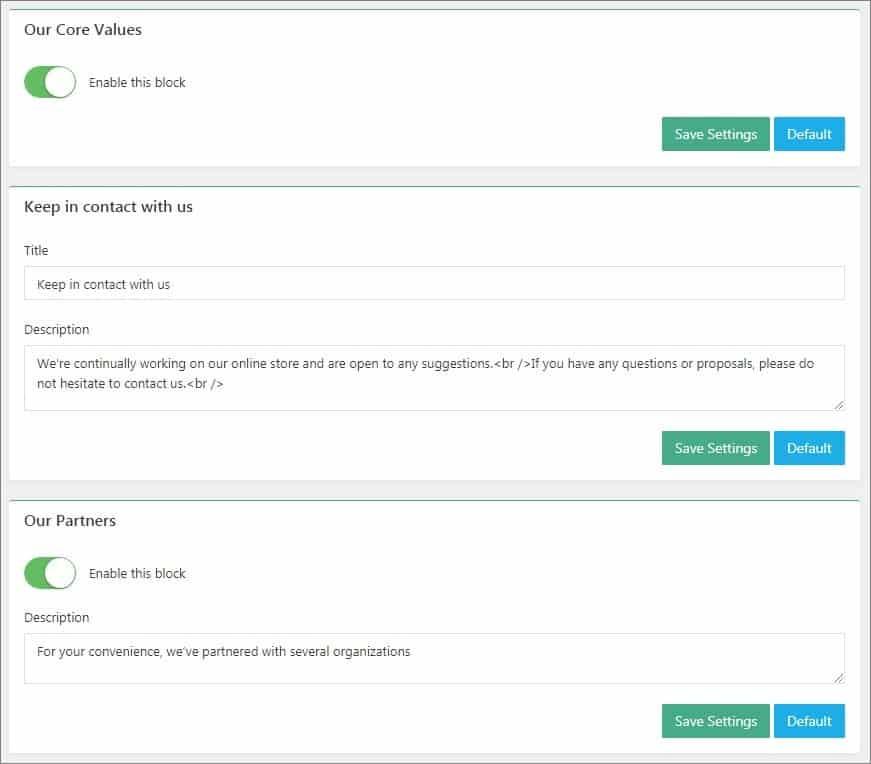
Enable or disable the Our Core Values block, encourage your customers to keep in touch with you and benefit from telling more about your business partners.
Thank You
Add a background image for your Thank you page. You can edit text which is shown to your client when a payment is complete or it failed and add conversion tracking scripts.

Contact Us
Add your email address and edit text displayed on the Contact Us page above your contact details.

Social Media
To add your social media links, go to Social Media and fill in the appropriate fields.

Footer
Your custom code can be added to Footer tag container.

Sidebar drawer
Add your contact details and copyright notice in the Sidebar drawer tab.

Blog
Learn how to customize your blog here.